我家做得最多的当数戚风蛋糕了,每回做出来都很受欢迎。
这次改作烫面戚风蛋糕,比普通戚风软多了,只是制作步骤比普通的戚风麻烦一点点。
但是为了作出更好吃的蛋糕,也值得了啊~
用的依然是君之的方子~
配料:鸡蛋5个,低筋面粉60克,牛奶55克,玉米油50克,细砂糖60克(加入蛋白),细砂糖20克(加入蛋黄)
步骤:
1、牛奶、玉米油、20克细砂糖糖加入奶锅里煮沸后立即离火,把过筛后的面粉倒入奶锅,立即搅拌成烫面团。因为这一步骤要求动作要快,我都没来得及拍照。
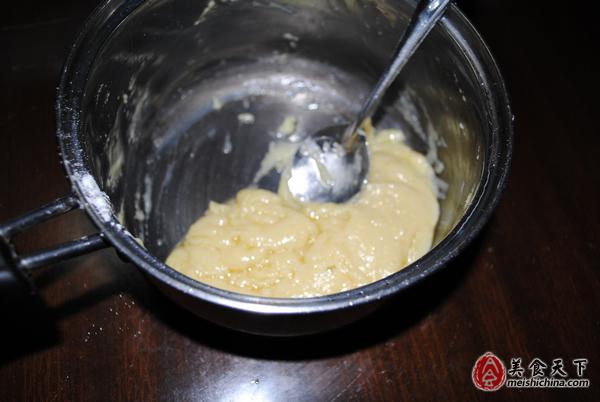
2、将鸡蛋的蛋白与蛋黄分开(盛蛋白的碗要尽量干净,无油无水)。将烫面团冷却到不烫手的温度后,倒入蛋黄里,搅拌均匀。
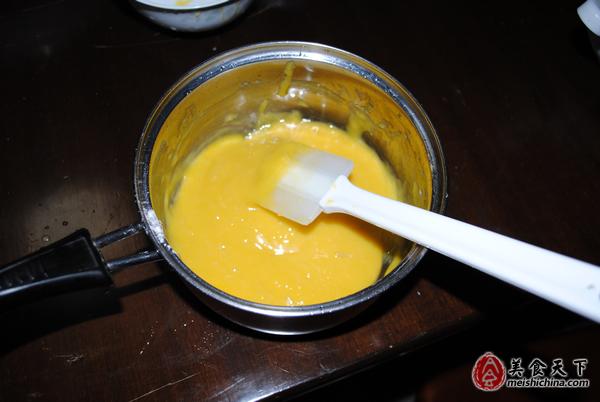
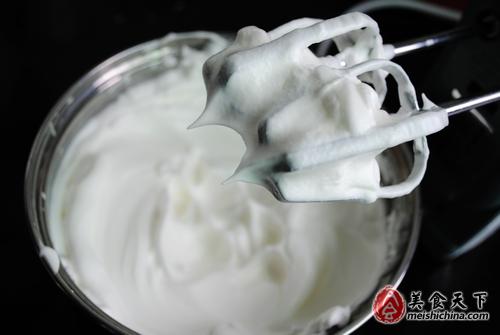
3、并分三次加入细砂糖,将蛋白打发到可以拉出直立尖角的干性发泡状态。
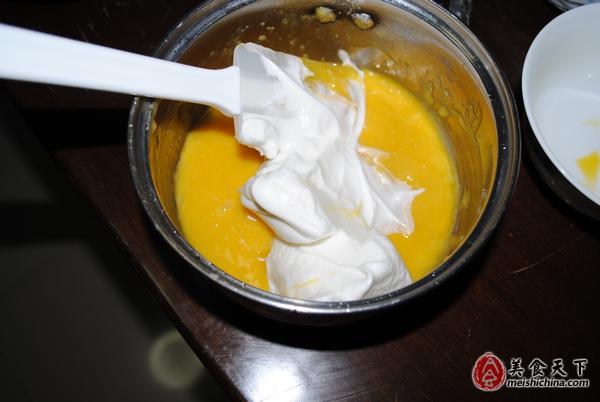
4、盛1/3蛋白到蛋黄糊里。用橡皮刮刀翻拌均匀。
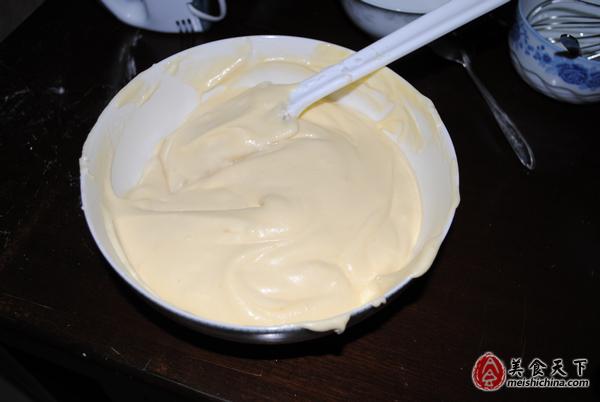
5、所有蛋黄糊与蛋白翻拌均匀。不要划圈。
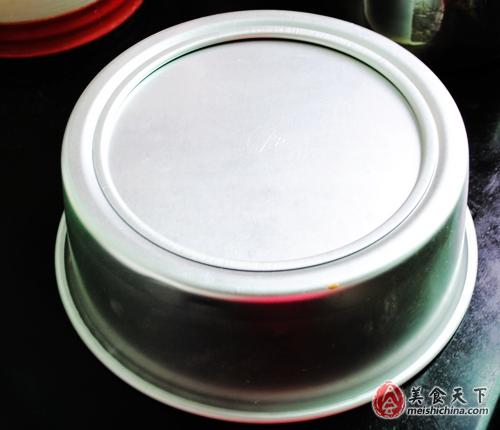
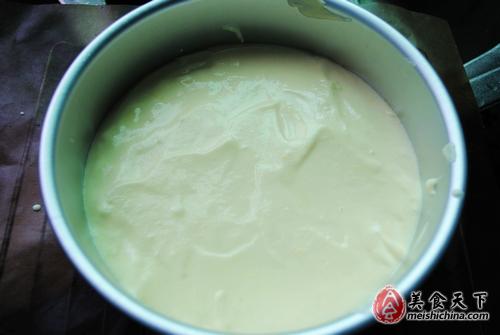
6、把拌好的蛋糕糊倒入圆形蛋糕模里。
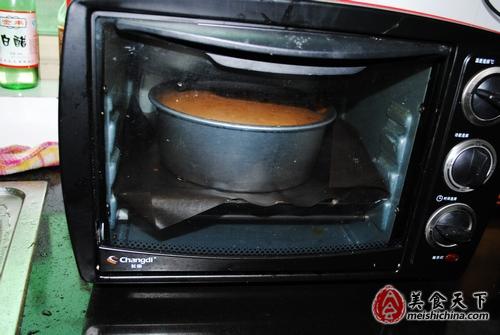
7、把蛋糕模放入烤箱中下层,上下火165度,烤50分钟左右。
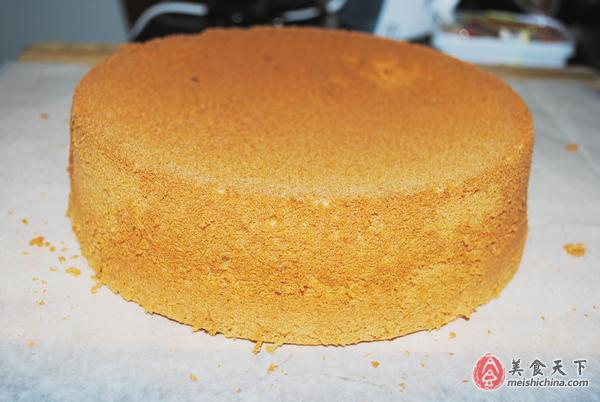
8、出炉后将蛋糕模倒扣在冷却架上,冷却后脱模并切块即可享用。